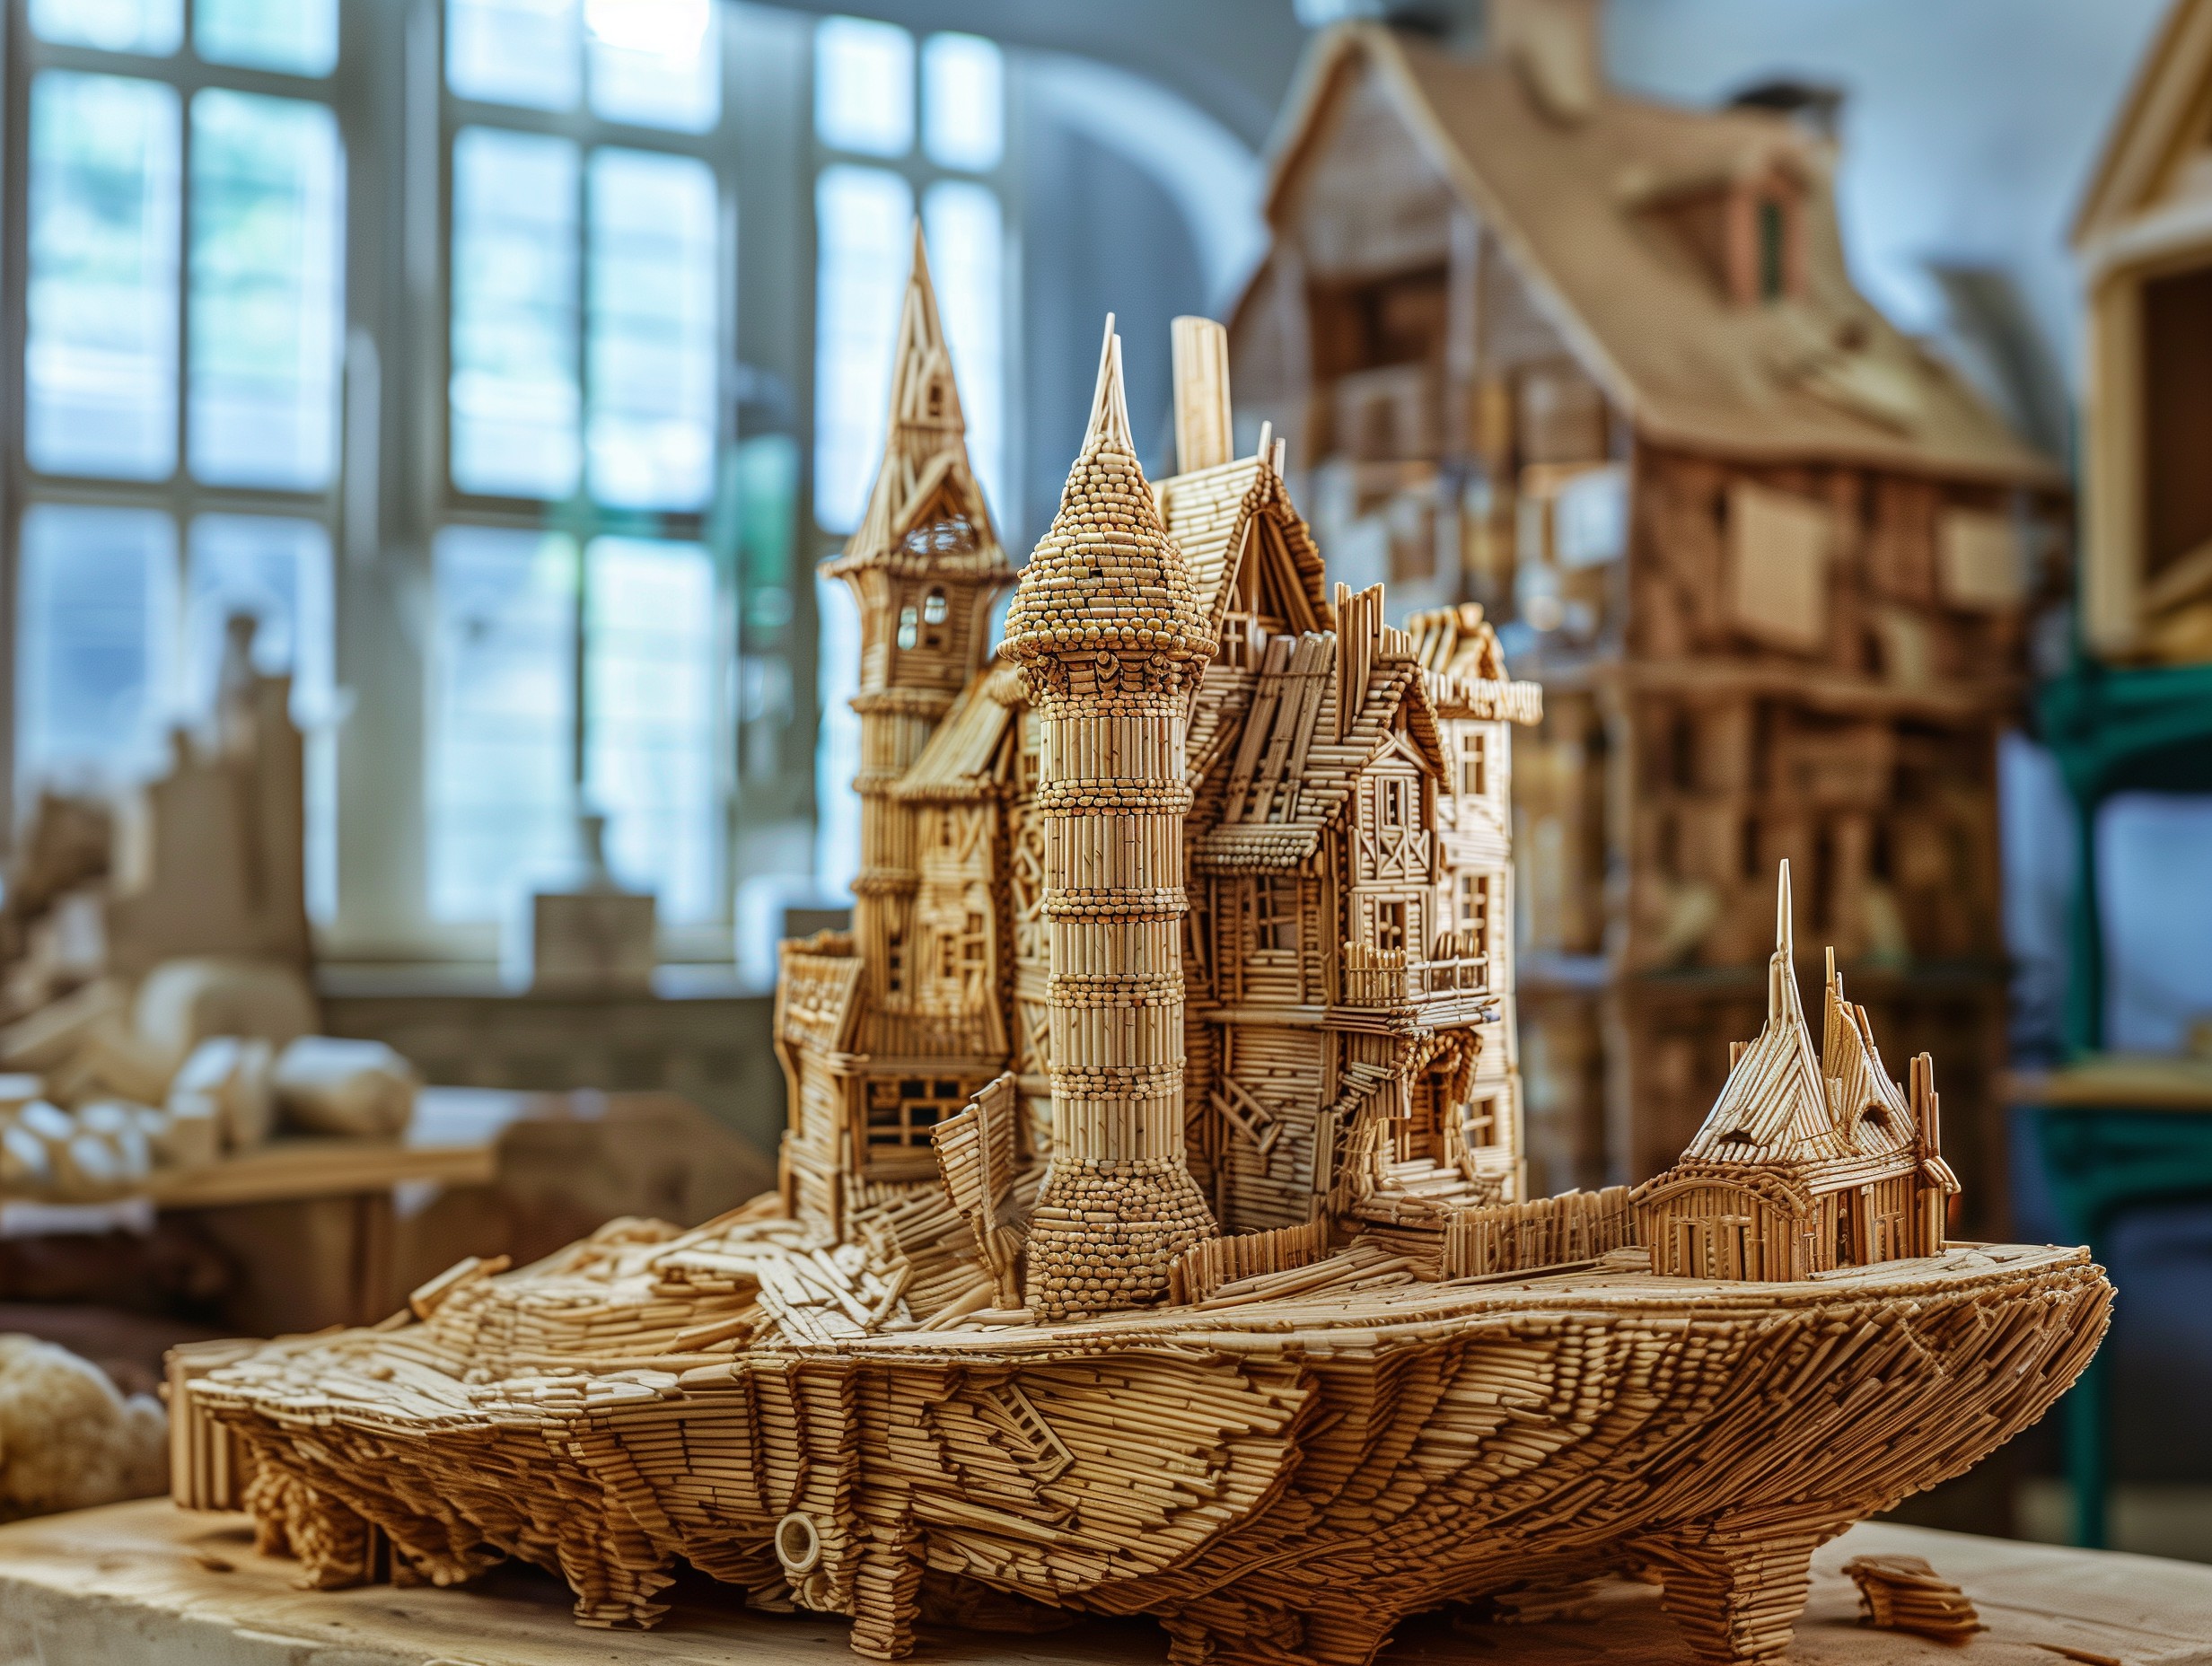
The Fascinating Journey of Popsicle Sticks in Crafting
Gather Your Materials
To create stick art and craft projects, it is important to gather all the necessary materials. You will need a variety of sticks such as popsicle sticks, twigs, or wooden dowels. Other materials that may be required include glue, paint, scissors, string or yarn for decoration purposes. Make sure you have all the materials before starting your project to avoid interruptions.
Choose Your Projects
When it comes to stick art and craft projects, there are plenty of options to choose from. You can make simple creations like picture frames or bookmarks using popsicle sticks. For more intricate designs, consider making sculptures or mobiles with various types of sticks and other decorative elements. The choice of projects depends on your creativity and skill level.
Crafting Time
Crafting time allows you to unleash your creativity and bring your stick art ideas to life. Whether you're working alone or with friends and family members in a crafting session, this time gives you an opportunity for self-expression through art. Take your time during the process and enjoy every moment as you transform ordinary sticks into unique works of art.
Creative Uses for Popsicle Stick Crafts
How to Make Popsicle Stick Rainbow
Creating a Popsicle Stick Rainbow is a fun and colorful craft project that kids of all ages can enjoy. To make this craft, you will need popsicle sticks in various colors, glue, and string. Start by arranging the popsicle sticks in an arch shape to form the outline of the rainbow. Then, apply glue to each stick and press them together to secure them in place. Once the glue has dried, attach a piece of string to both ends of the rainbow for hanging. This simple yet delightful craft is sure to brighten up any room!
Winter Popsicle Stick Penguin Craft for Kids
Winter brings with it chilly temperatures and snow-covered landscapes, making it the perfect time for indoor crafts like making a Popsicle Stick Penguin! This adorable craft is easy to create with just a few supplies: black and white paint or markers, googly eyes, orange paper or foam for the beak and feet, as well as some popsicle sticks for the body. Start by painting or coloring one side of each popsicle stick black for the penguin's back and head. Allow it to dry before flipping over and painting or coloring another side white for its belly. Once dry again, attach googly eyes on top of the head using glue or tape strips cut from orange paper/foam onto two other clean sides - these will become wings when folded down against themselves (think origami). Finally add an orange triangle-shape beak at one end near where those wings meet plus four short lines coming outwards representing toes sticking outward towards front legs so they're ready stand upright!
Making a Popsicle Stick Tractor
If your child loves tractors and enjoys crafting activities then making a Popsicle Stick Tractor is the perfect project! To create this fun and imaginative craft, you will need popsicle sticks, paint in various colors, glue, and a black marker. Start by arranging four popsicle sticks side by side to form the base of the tractor. Glue two more sticks vertically on top of the base sticks to create the front part of the tractor. Next, use additional popsicle sticks to build up the sides and back of the tractor body. Paint each section of the tractor in different colors such as green for grass or yellow for hay bales. Finally, use a black marker to add details like windows and wheels. Your child will have a blast playing with their very own Popsicle Stick Tractor!
Monthly Craft Challenges with Popsicle Sticks
Homemade Jumbo Popsicle Garland
Create a stunning Homemade Jumbo Popsicle Garland with just a few simple materials. Start by collecting jumbo popsicle sticks in various colors and patterns. Paint the sticks with vibrant hues to add a pop of color to your garland. Once dry, string the sticks together using twine or ribbon, alternating the colors and patterns for an eye-catching design. Hang your homemade garland on a mantel, across a window frame, or as festive decor for any special occasion.
Make a Popsicle Stick House Magnet
Add some charm to your refrigerator or magnetic surface by making a delightful Popsicle Stick House Magnet. Gather craft sticks and paint them in different shades to create walls, roof tiles, doors, and windows for your mini house. Use hot glue or strong adhesive tape to assemble the pieces into the shape of a house. Attach small magnets at the back of the house so it can stick securely onto metal surfaces. This adorable magnet will not only hold up notes and photos but also serve as an attractive decorative piece.
Craft Sticks and Pipe Cleaners Crocodile
Get creative with craft sticks and pipe cleaners to construct an adorable Crocodile! Begin by painting several craft sticks green for the body parts of the crocodile - head, tail, legs, etc. Once dry, use hot glue or strong adhesive tape to attach these painted craft stick pieces together in their appropriate positions to form an amusing crocodile shape. Bend colorful pipe cleaners into zigzag shapes for teeth and spikes along its back before attaching them securely onto the crocodile's mouth and body using adhesive tape or glue dots.This fun DIY project is perfect for kids' playtime or as decoration in children's rooms.
Embracing Sustainability in Popsicle Stick Crafts
Handmade Popsicle Stick Picture Frame
Create a unique and personalized picture frame with popsicle sticks. Handmade popsicle stick picture frames are an easy and fun craft project that can add a special touch to your favorite photos or artwork. Simply arrange the popsicle sticks into a square or rectangular shape, gluing them together at the corners. You can leave the sticks natural for a rustic look, or paint them in any color you desire. Add embellishments like buttons, beads, or ribbon for extra flair. Insert your photo or artwork into the frame and display it proudly on your wall or desk.
Easy Mickey Mouse Using Popsicle
Bring some Disney magic into your crafting with this easy Mickey Mouse design made from popsicle sticks. Using just a few simple materials, you can create an adorable Mickey Mouse decoration that kids and adults alike will love. Start by arranging three popsicle sticks in a triangular shape to form Mickey's head. Glue two more sticks diagonally across the middle of the triangle to create his iconic ears. Paint the entire structure black and use white paint to add Mickey's eyes, nose, and mouth details. Once dry, you can hang it on your wall as a cute Disney-themed accent.
Make Your Own Popsicle Stick Flower
Brighten up any space with colorful homemade flower decorations made from popsicle sticks! Making your own flowers out of popsicles is not only budget-friendly but also allows you to customize their look according to your preferences. Start by painting several popsicles in different colors for petals - pastels work great for a soft spring vibe while bright tones make vibrant summer blooms! Once dry, arrange five painted popsicles around one central stick using hot glue as adhesive points between each petal stick; repeat until desired fullness is achieved. Finish off with a green popsicle for the stem and leaves, and voila! You have your own beautiful popsicle stick flowers to brighten up any room or event.
FAQs About Popsicle Stick Crafting
What is the best way to cut popsicle sticks?
When it comes to cutting popsicle sticks, the best way is to use a sharp craft knife or a pair of sturdy scissors. Make sure to measure and mark the desired length before cutting, and apply steady pressure while making the cut to avoid splintering or uneven edges.
Can popsicle sticks be painted or stained?
Yes, popsicle sticks can be painted or stained to add color and enhance their appearance. Before painting or staining, it's important to sand the surface of the stick lightly using fine-grit sandpaper. This helps remove any roughness and allows for better adhesion of paint or stain. Choose acrylic paints or wood stains specifically designed for crafts as they adhere well to wooden surfaces.
How do you make popsicle sticks bend without breaking?
To make popsicle sticks bend without breaking, you can soak them in water for several hours until they become flexible. Once soaked, gently bend the stick into your desired shape and hold it in place with clips or rubber bands until it dries completely. Alternatively, you can also steam the sticks by placing them over boiling water for a few minutes before bending them.
Popsicle Stick Crafts for Kids: The Clever Things to Make
Simple Popsicle Stick Bumble Bee
Create your own adorable Simple Popsicle Stick Bumble Bee with just a few materials. Start by painting the popsicle sticks black and yellow to resemble the body of a bee. Then, glue them together in an alternating pattern to create the wings. Use googly eyes and pipe cleaners for the face and antenna. Finally, attach a small magnet to the back of your bumble bee so you can display it on your fridge or any metal surface.
DIY Folding Popsicle Stick Fan
Stay cool during hot summer days with a DIY Folding Popsicle Stick Fan. Gather some popsicle sticks and paint them in vibrant colors of your choice. Once dry, attach two sticks together at one end using tape or glue. Repeat this process until all the sticks are connected, creating a fan-like structure when opened up fully. Decorate as desired with stickers or markers for added flair. This fun and easy craft is perfect for kids and adults alike!
How to Make a 3D Popsicle Stick Easel
Bring out your artistic side by making a stunning 3D Popsicle Stick Easel that can showcase your artwork beautifully! Begin by gluing four popsicles sticks into a square shape as the base of the easel. Attach two additional sticks diagonally across each corner to provide stability. Add another stick vertically along one side to serve as support for holding artwork upright. Paint or decorate according to your preference, then let it dry completely before displaying masterpieces on this homemade easel.