Introduction to Paper Stained Glass Craft
History and Origins
The art of paper stained glass craft has a rich history and fascinating origins. Dating back to the Middle Ages, this craft was originally practiced by skilled artisans who created intricate designs using colored pieces of glass held together with lead strips. Over time, the technique evolved, and artists began experimenting with different materials, including paper. Paper stained glass craft became popular in the 19th century as a more affordable alternative to traditional stained glass windows.
Benefits of Paper Stained Glass Projects
Engaging in paper stained glass projects offers numerous benefits for both adults and children alike. This creative activity allows individuals to explore their artistic side while improving hand-eye coordination and fine motor skills. It provides an opportunity for self-expression and encourages imagination as one designs unique patterns using colorful papers. Additionally, engaging in such crafts can be therapeutic, promoting relaxation and reducing stress levels.
Materials Needed
To get started on a paper stained glass project, you will need a few basic materials. These include colored construction or tissue papers in various shades, clear adhesive sheets or contact paper, scissors for cutting out shapes or patterns, a pencil for tracing outlines if desired, and optionally black construction paper or cardstock to create borders for your design. With these simple materials readily available at home or local craft stores, you can embark on creating stunning paper stained glass artworks.
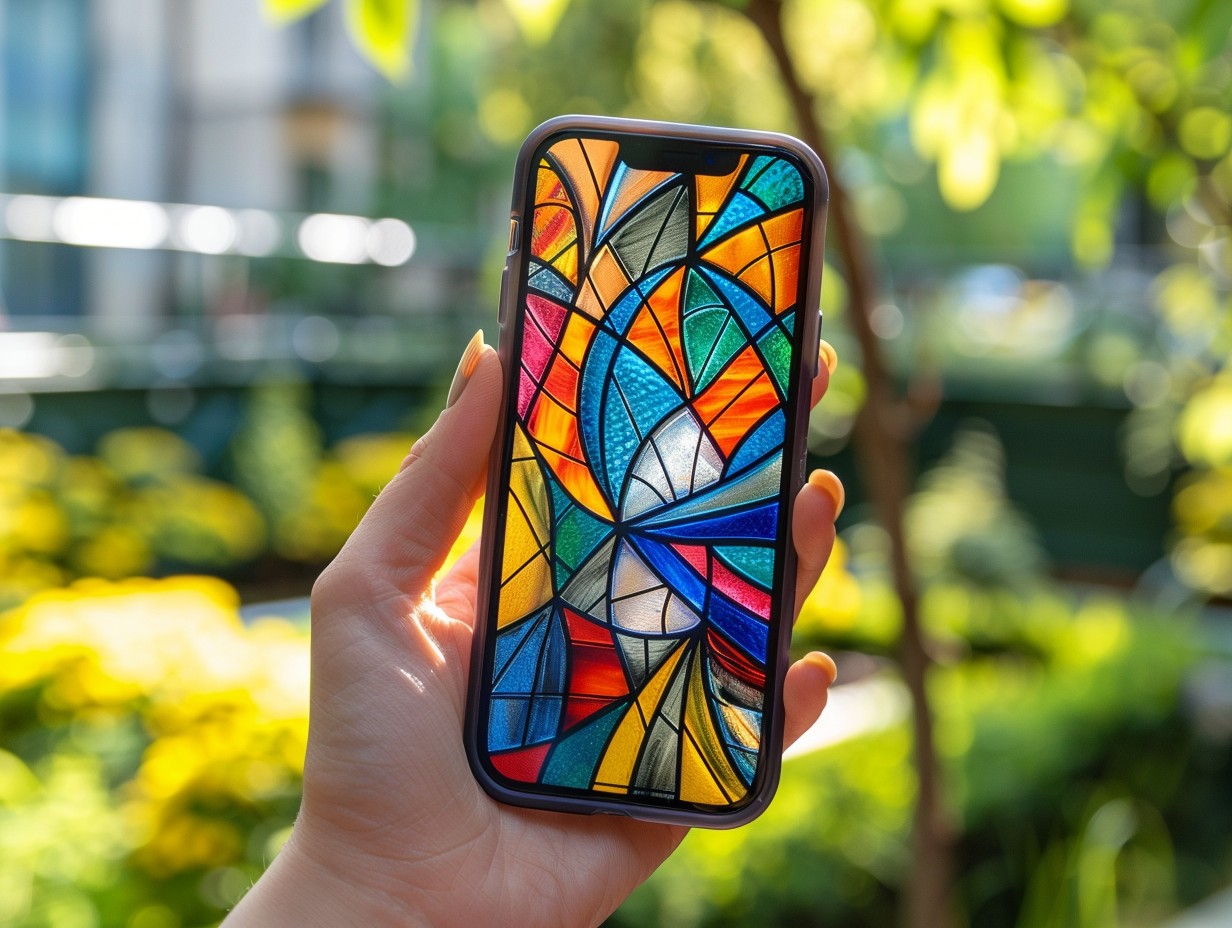
Designing Your Paper Stained Glass
Choosing a Design
When it comes to creating a paper stained glass craft, one of the first considerations is choosing a design. There are countless designs available, ranging from simple geometric patterns to intricate nature scenes. It's important to select a design that matches your skill level and personal taste. If you're new to paper crafts, you may want to start with a simpler design and gradually work your way up to more complex ones. Additionally, consider the size of the finished project and where you plan on displaying it.
Creating a Template
Creating a template is an integral part of making a paper stained glass craft. A template serves as the blueprint for cutting out the individual pieces of colored paper that will be used in the final artwork. To create a template, start by sketching out the design on plain white paper or cardstock. Use rulers and stencils if needed to achieve precise measurements and shapes. Once the template is complete, carefully cut out each section using scissors or an X-Acto knife.
Selecting Colors
Selecting colors is another key aspect of crafting with paper stained glass art techniques. The choice of colors can greatly influence the overall appearance and impact of your finished piece. Consider whether you want bold and vibrant colors or softer pastel shades for your project. Experiment with different color combinations before committing to one particular palette by using scrap pieces of colored paper or fabric swatches as samples.
Preparing Your Materials
Cutting the Paper
Cutting the paper is a key step in creating a beautiful paper stained glass craft. It requires precision and attention to detail. Using sharp scissors or a craft knife, carefully cut out your desired shapes from colored construction paper or tissue paper. Take your time to make clean, smooth cuts for the best results.
Organizing Your Workspace
When working on a paper stained glass craft project, it's important to have an organized workspace. Clear off any clutter and make sure you have enough room to spread out your materials. Use containers or dividers to keep different colors of paper separated and easily accessible. Having everything neatly arranged will help you work more efficiently and prevent any unnecessary frustration.
Safety Tips
Safety should always be a top priority when engaging in any crafting activity, including paper stained glass crafts. Remember to use appropriate tools such as safety scissors for children or sharp scissors for adults. If using a craft knife, handle it with care and keep fingers away from the blade at all times. Additionally, consider wearing protective goggles if cutting small pieces that may fly up during the process. Lastly, always supervise children while they are handling scissors or knives.
Assembling Your Paper Stained Glass
Layering Techniques
Layering techniques are an important aspect of creating paper stained glass crafts. By layering different colors and shapes of paper, you can achieve a beautiful and intricate design that resembles traditional stained glass windows. One popular technique is to cut out various shapes from colored paper and then glue them onto a base layer to create depth and dimension. Another technique involves using translucent papers in multiple layers to create the illusion of light passing through the glass. Experimenting with different layering techniques allows for endless possibilities in creating unique and stunning paper stained glass crafts.
Gluing Tips
When it comes to gluing your paper pieces together for a paper stained glass craft, there are some tips that can help you achieve optimal results. First, make sure to use a high-quality adhesive that dries clear, such as craft glue or double-sided tape. This will prevent any visible residue on your finished piece. Additionally, apply the glue or tape sparingly to avoid excess moisture or bulkiness in your project. It's also important to press down firmly on each piece after gluing it in place to secure adhesion and minimize air bubbles. Taking these gluing tips into consideration will result in a professionally crafted paper stained glass art piece.
Adding Details
Adding details is where you can truly bring your paper stained glass craft to life. Consider incorporating additional elements such as metallic accents, glitter, or even small beads for added texture and sparkle. These details can be strategically placed throughout your design to enhance certain areas or add interest overall. In addition, consider adding black outlines around certain shapes or sections using markers or pens specifically designed for crafting on glossy surfaces like acetate sheets or vellum papers commonly used in this type of craft project. By paying attention to the small details, you can take your paper stained glass craft from ordinary to extraordinary.
Finishing Touches
Trimming Excess
When working on a paper stained glass craft, trimming excess material is an important step to achieve a clean and polished final result. After cutting out the desired shapes from colored paper, it is necessary to carefully remove any excess paper around the edges using sharp scissors or a craft knife. This meticulous trimming process helps define the shapes more precisely and enhances the overall aesthetic of the finished piece.
Reinforcement Options
To reinforce your paper stained glass craft and make it sturdier, there are various options you can consider. One effective method is to apply a layer of clear adhesive film or laminating sheets over both sides of the completed design. This protective coating not only adds durability but also prevents moisture or dust from damaging your artwork. Another reinforcement option is to sandwich your paper cut-outs between two layers of transparent contact paper before assembling them together with glue or tape. This technique provides extra strength while maintaining transparency.
Display Ideas
Displaying your paper stained glass crafts creatively can enhance their visual impact and add charm to any space. Consider hanging them near windows where natural light can pass through, illuminating their vibrant colors beautifully. Alternatively, you can frame your creations using simple wooden frames or shadow boxes that allow for easy wall mounting. To create a stunning effect during nighttime, place battery-powered LED lights behind the translucent areas of your designs for an enchanting glow. Additionally, arranging multiple pieces in a mosaic-like pattern on a large windowpane creates an impressive focal point that catches attention.
Maintenance and Preservation
Cleaning Tips
To keep your paper stained glass craft looking its best, regular cleaning is important. Start by gently dusting the surface with a soft cloth or feather duster to remove any loose dirt or debris. For more stubborn stains, you can use a damp cloth and mild soap to gently wipe away the dirt. Avoid using harsh chemicals or abrasive cleaners as they can damage the delicate paper. Once clean, allow the craft to air dry completely before displaying it again.
Repairing Damages
Accidents happen, and if your paper stained glass craft gets damaged, there are ways to repair it without starting from scratch. If a piece of paper tears or rips, you can carefully glue it back together using a small amount of clear adhesive or glue stick. Be sure to apply the glue sparingly and press down firmly on both sides of the tear until it sticks together securely. If there are larger damages that cannot be easily repaired, consider replacing those specific sections with new pieces of colored paper to maintain the overall design integrity.
Long-term Preservation
Preserving your paper stained glass craft for long-term enjoyment requires some extra care and attention. First and foremost, display your creation in an area where it won't be exposed to direct sunlight for extended periods as this can cause fading over time. Additionally, avoid placing it near sources of heat such as radiators or fireplaces which can also affect its color vibrancy. To prevent dust accumulation and potential damage from moisture in humid environments, consider framing your craft behind protective glass or acrylic sheeting. Finally, handle the craft delicately when moving or storing it by holding onto sturdy edges rather than applying pressure directly on fragile areas.