Easy and Fun Crafts for Kids
Paper Plate Animals
Create your own menagerie of paper plate animals with this fun arts and crafts activity for rainy days. Using simple materials like paper plates, markers, and construction paper, children can let their imaginations run wild as they design and decorate their favorite animals. From colorful birds to fierce lions, the possibilities are endless. This engaging project not only encourages creativity but also helps develop fine motor skills as children cut out shapes and glue them onto the plates. Let the animal kingdom come to life on a gloomy day!
Homemade Playdough Creations
When it's pouring outside, keep little hands busy with homemade playdough creations. Making playdough from scratch is a sensory experience that kids love! With just flour, salt, water, oil, cream of tartar (for elasticity), and food coloring or natural dyes for vibrant hues, you can whip up a batch of soft and pliable dough that will entertain children for hours. Whether they're shaping sculptures or rolling out pretend pizzas in their own mini kitchenette, playing with homemade playdough stimulates imagination while improving hand strength and coordination.
Rainbow Rice Art
Brighten up dreary days by creating colorful works of art using rainbow rice! This easy-to-make craft material adds texture and vibrancy to any artwork. To create rainbow rice art at home during rainy weather bouts: divide uncooked rice into ziplock bags or containers; add a few drops of food coloring or liquid watercolors; seal tightly; shake until color is evenly distributed throughout the grains; spread colored rice on trays to dry completely before use; finally use it for collage projects or as an alternative medium for painting by gluing the dyed grains onto canvases or sturdy papers in various patterns or designs. The end result is a stunning masterpiece that will brighten up any rainy day!
Creative Crafts for Teens and Adults
DIY Candle Making
Looking for a fun and creative activity to do on a rainy day? Why not try DIY candle making? This arts and crafts project is perfect for all ages and can be done with minimal supplies. Start by gathering your materials, such as wax, wicks, fragrance oils, and containers. Melt the wax in a double boiler or microwave-safe container, then add your chosen fragrance oil. Place the wick in the center of your container and pour the melted wax carefully around it. Allow the candle to cool completely before trimming the wick. You can even customize your candles by adding colors or decorative elements like dried flowers or glitter. DIY candle making is a relaxing and enjoyable way to spend a rainy day indoors.
Creating Custom Tote Bags
If you're looking for a creative project that combines both functionality and style, creating custom tote bags is an excellent choice for a rainy day activity. All you need are plain canvas tote bags, fabric paints or markers, stencils (if desired), and some creativity! Start by deciding on your design or pattern – whether it's abstract art, floral motifs, inspirational quotes – let your imagination run wild! Lay out newspapers or plastic sheets to protect your work surface from any accidental spills. Use fabric paints or markers to bring your design to life on the tote bag canvas. If you prefer more precision in your artwork, stencils can be used as guides for clean lines and shapes. Once you've finished painting or coloring your masterpiece onto the tote bag(s), allow them to dry thoroughly before using them as stylish accessories while running errands or going shopping.
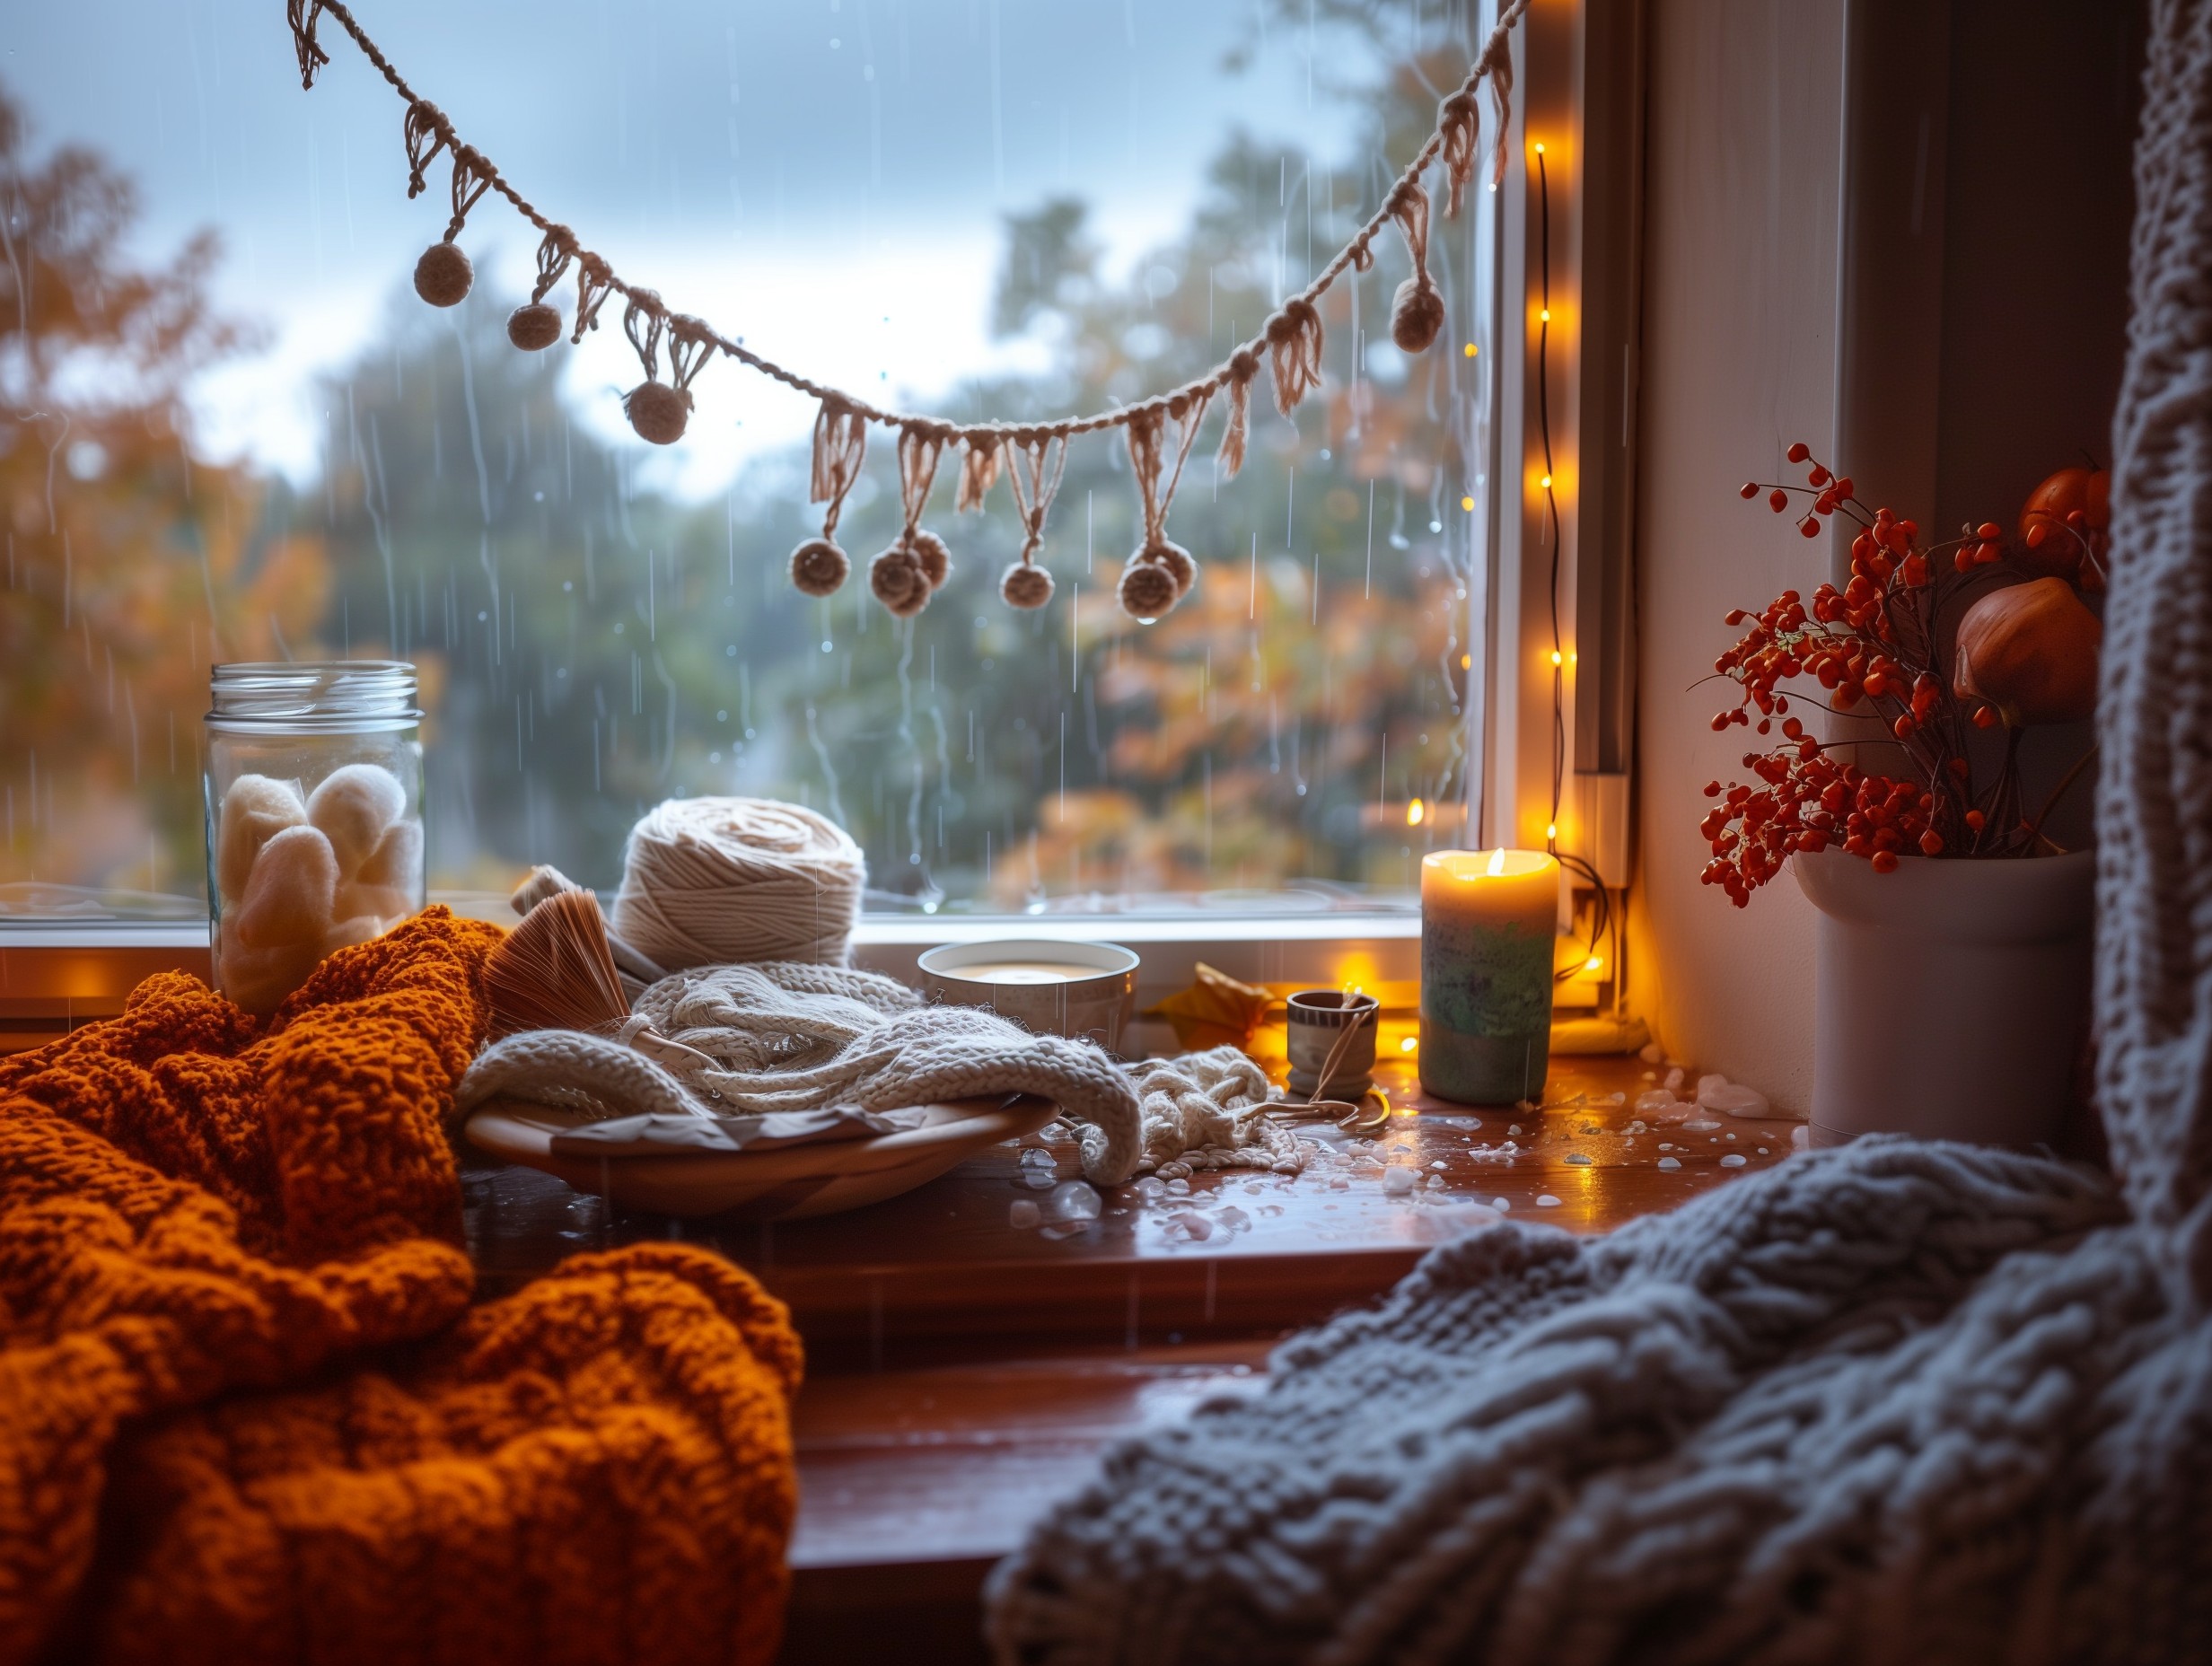
Macrame Plant Hangers
Macrame plant hangers are not only trendy but also make for an engaging craft project during those gloomy days. All you need is some macrame cord, a plant pot, scissors, and a sturdy hook or dowel to hang your creation. Start by cutting several lengths of macrame cord – the number will depend on how long you want your plant hanger to be. Fold each piece in half and attach them to the hook or dowel using lark's head knots. You can then start creating different types of knots such as square knots or spiral knots to add texture and visual interest to your hanger. Once you're satisfied with the length and design, tie all the cords together at the bottom with a secure knot that will hold your plant pot in place. Hang up your macrame plant hanger near a window or from the ceiling for an instant touch of greenery indoors.
Eco-Friendly Crafting Ideas
Recycled Bottle Bird Feeders
Create your own Recycled Bottle Bird Feeders to attract birds to your backyard. Start by collecting empty plastic bottles and cutting a small hole near the bottom for the bird food to come out. Decorate the bottle with paint or stickers to make it visually appealing. Then, attach a string or wire around the neck of the bottle so you can hang it from a tree branch or hook. Fill the feeder with birdseed and watch as colorful birds flock to enjoy their meal.
Upcycled Clothing Projects
Upcycled Clothing Projects are not only environmentally friendly but also creative ways to transform old garments into something new and stylish. Instead of throwing away old clothes, consider repurposing them into trendy fashion pieces. Cut out interesting patterns from different fabrics such as floral prints or geometric designs, then sew them onto plain t-shirts, jeans, or jackets for an instant upgrade. You can also add embellishments like beads, sequins, or embroidery for extra flair. With upcycling projects, you can give new life to your wardrobe while reducing textile waste.
Eco-Friendly Dye Techniques
Explore Eco-Friendly Dye Techniques that produce beautiful colors without harming the environment. Natural dyes made from plants and fruits are a sustainable alternative to synthetic dyes often used in fabric coloring processes. Experiment with ingredients like turmeric, onion skins, avocado pits, or beetroot juice to create vibrant hues on natural fibers such as cotton or linen fabrics. The dyeing process involves simmering these natural ingredients in water before immersing pre-washed fabric in the dye bath until desired color intensity is achieved. Embrace eco-consciousness while adding unique shades and patterns through eco-friendly dye techniques.
Crafts to Brighten Your Home
Hand-Painted Cushion Covers
Hand-painted cushion covers are a great way to add a personal touch to your home decor on rainy days. Whether you're an experienced artist or just starting out, painting cushion covers can be a fun and creative activity. You can use fabric paints or acrylic paints to create beautiful designs on plain white or colored cushion covers. From floral patterns to abstract art, the possibilities are endless. Once your artwork is complete, allow it to dry completely before using or displaying the cushion cover.
Clay Pot Decorations
Clay pot decorations offer a delightful way to spend rainy days indoors while creating unique and charming crafts. Clay pots provide a versatile canvas for creativity and can be transformed into various decorative items like planters, candle holders, or even miniature houses. All you need is some air-dry clay, paint, brushes, and your imagination! Start by molding the clay into desired shapes and let them dry thoroughly. Then paint them with vibrant colors of your choice and add intricate details if desired. Once dried again after painting, these clay pot decorations will brighten up any space in your home.
Fairy Light Jars
Fairy light jars are enchanting crafts that can bring warmth and magic into your living spaces during gloomy weather conditions like rainstorms outside. These simple yet captivating creations require only a few materials: empty glass jars (such as mason jars), string lights (preferably LED fairy lights), glue or adhesive tape, decorative elements (like ribbons or twine), and optionally translucent paper for diffusing the glow of lights inside the jar if desired. Begin by cleaning the glass jar thoroughly before applying glue/tape around its rim spiral-wise where you want lights placed later on; then carefully insert string lights through the glued/taped areas, ensuring they're evenly distributed inside. Finally, decorate the jar exterior with ribbons or twine for added charm. Once finished, switch on the lights and enjoy the cozy ambiance created by these beautiful fairy light jars.
Wrapping Up Your Craft Projects
Preserving Your Crafts
When it comes to arts and crafts for rainy days, one important consideration is how to preserve your crafts. After spending time creating something beautiful or unique, you want to make sure it lasts. There are several ways you can do this. One option is to use protective coatings like varnish or sealants that will help protect your crafts from moisture and damage. Another option is to store them in airtight containers or display cases that will keep out dust and prevent any potential harm. Additionally, using acid-free materials such as archival paper or glue can also help preserve your crafts over time.
Gift Wrapping Homemade Crafts
Gift wrapping homemade crafts adds an extra special touch when giving them as presents on rainy days. It not only elevates the presentation but also shows the recipient that you put thought into their gift. When choosing wrapping materials, consider using recycled paper or fabric scraps for a more eco-friendly approach. You can also get creative with embellishments like ribbons, twine, or dried flowers to add a personal touch. Don't forget about personalized tags or labels with heartfelt messages! By taking the time to wrap your homemade crafts beautifully, you'll make the recipients feel truly appreciated.
Organizing Craft Supplies for Next Time
After enjoying some arts and crafts on a rainy day, it's important to organize your craft supplies for next time efficiently. This saves you valuable time searching for materials when inspiration strikes again! Start by sorting similar items together – group all paints in one container, brushes in another, beads in separate compartments – whatever makes sense for your specific supplies collection. Consider investing in storage solutions like clear plastic bins with dividers so you can easily see what's inside without rummaging through everything each time. Labeling containers further enhances organization and allows for quick identification. By keeping your craft supplies organized, you'll be ready to dive into creativity whenever the rain starts pouring.